Mazama: OnDemand
Introduction
The Mazama OnDemand interface allows you to conduct your research on Mazama through a web browser. You can manage files (create, edit and move them), submit and monitor your jobs, see their output, check the status of the job queue, run a VNC session and much more, without logging in to Mazama the traditional way, via a SSH terminal connection.
More documentation
Open OnDemand was created by the Ohio Supercomputer Center.
The following documentation is specifically intended for using OnDemand on Mazama. For more complete documentation about OnDemand in general, please see the extensive documentation for OnDemand created by OSC, including many video tutorials.
Connecting
Connection Information
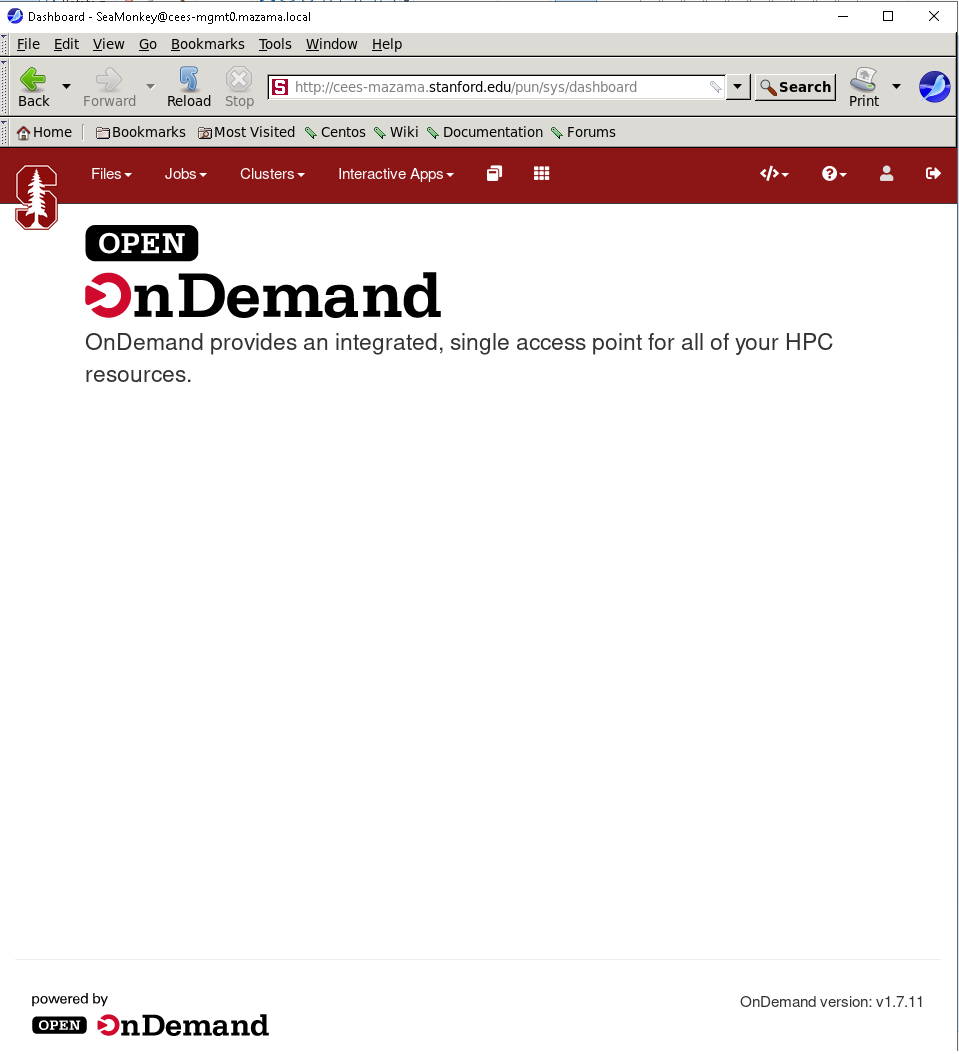
To connect to Mazama OnDemand, simply connect to the Stanford VPN and then point your browser to http://cees-mazama.stanford.edu
http://cees-mazama.stanford.edu
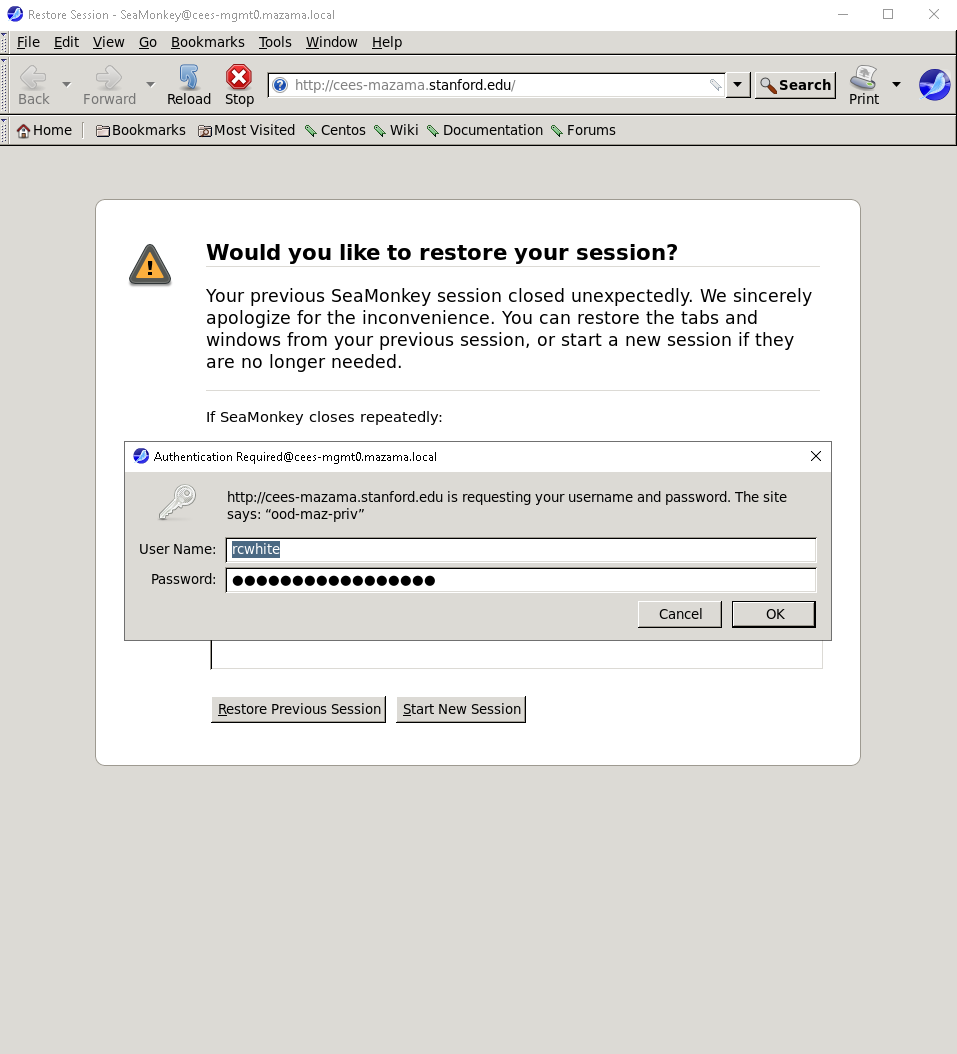
Mazama OnDemand requires the same level of authentication than connecting to Mazama over SSH. You will have to connect through the Stanford VPN and you will be prompted for your SUNet ID and password.
The Mazama OnDemand Dashboard will then open. From there, you can use the menus across the top of the page to manage files, get a shell on Mazama, submit jobs or open interactive applications such as Jupyter Notebooks or RStudio sessions.
To end your Mazama OnDemand session, click on the “Log Out” link at the top right of the Dashboard window and close your browser.
Getting a shell
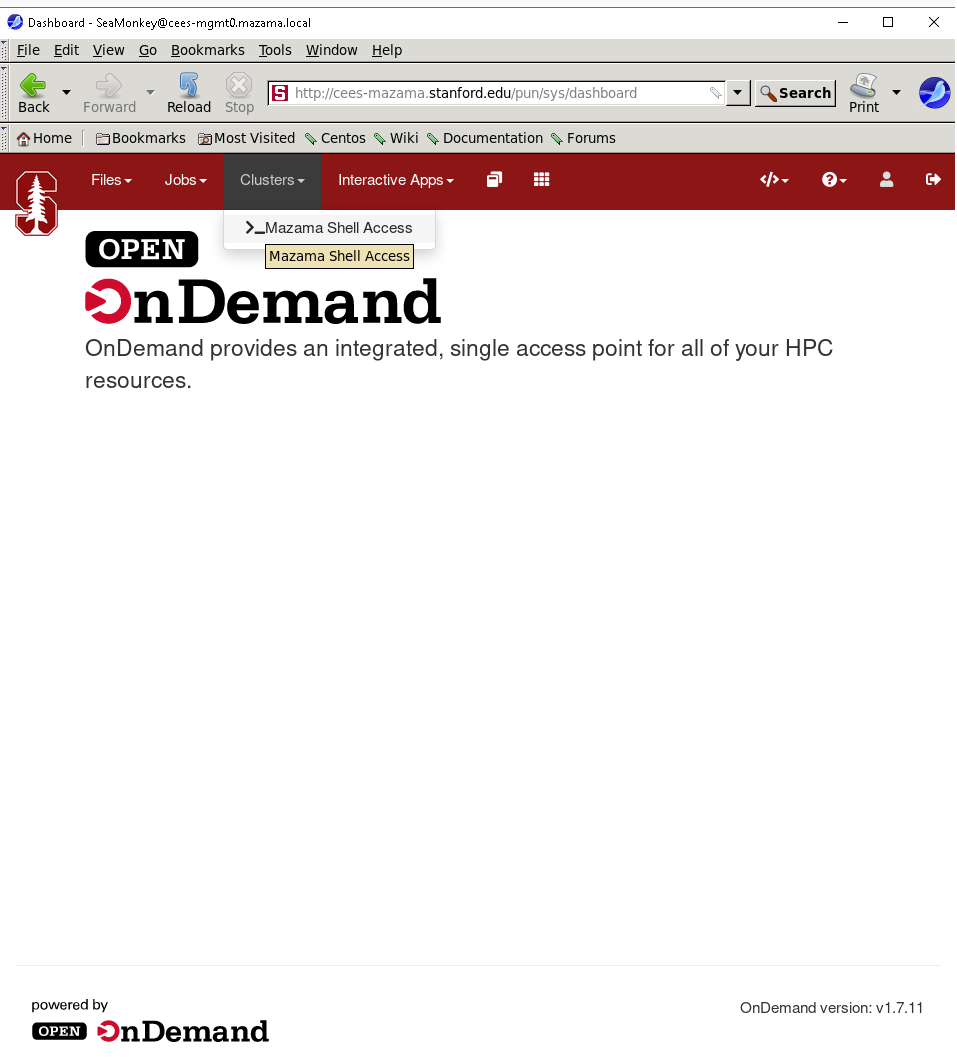
You can get shell access to Mazama by choosing Clusters > _Mazama Shell Access from the top menu in the OnDemand Dashboard.
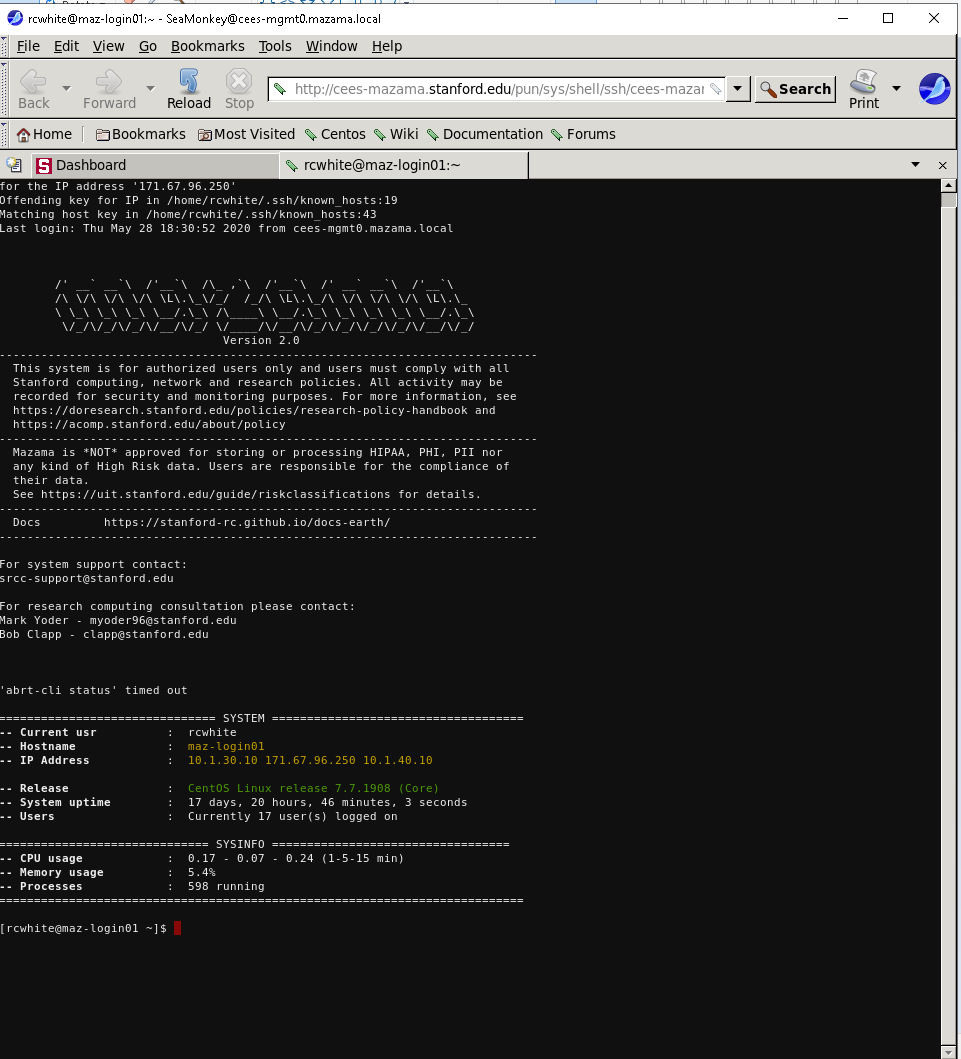
In the window that will open, you’ll be logged in to one of Mazama’ login nodes, exactly as if you were using SSH to connect. Except you don’t need to install any SSH client on your local machine, or deal with your SSH client configuration to.
How cool is that?
Managing files
To create, edit or move files, click on the Files menu from the
Dashboard page. A dropdown menu will appear, listing your most common
[storage locations][url_storage] on Mazama: $HOME, $DATA,
$DATA2. $DATA3 and $SCRATCH.
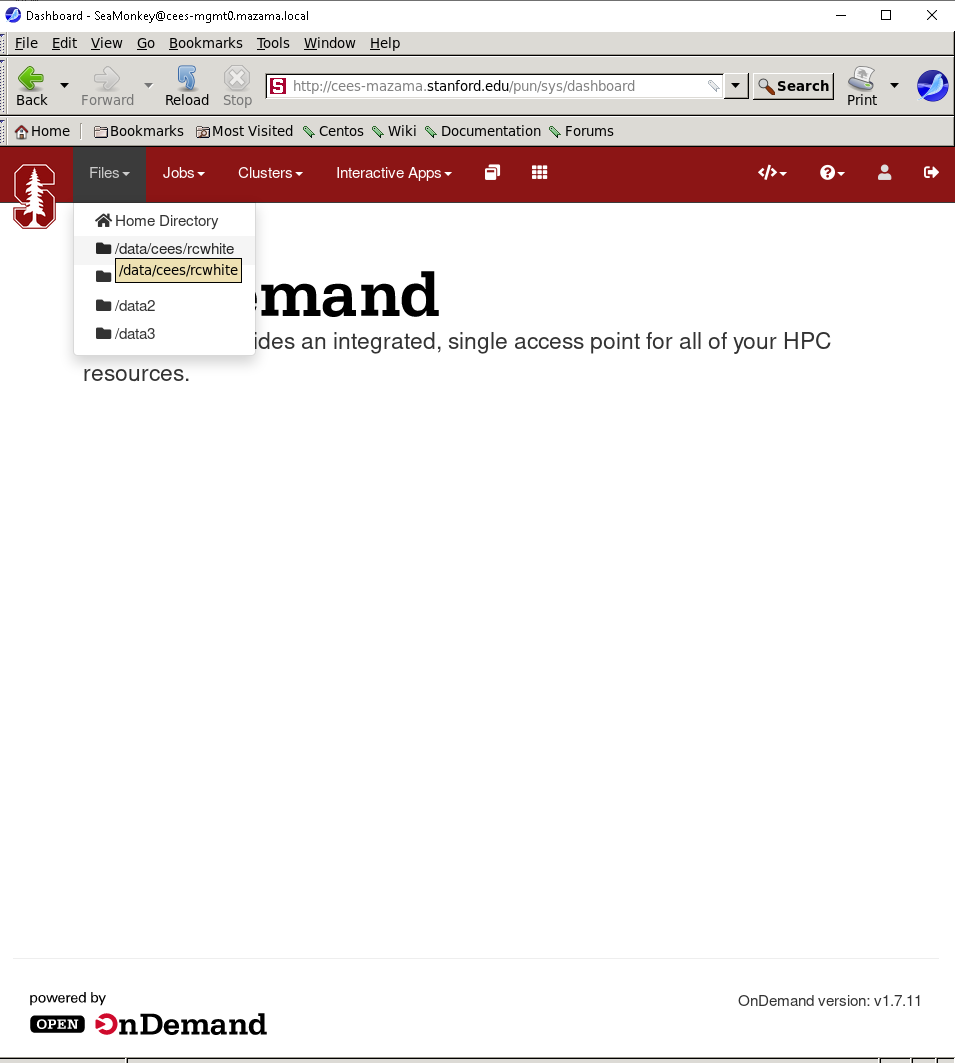
Choosing one of the file spaces opens the File Explorer in a new browser tab. The files in the selected directory are listed.
!!! note “Left panel will always display $HOME”
No matter which directory you are in, your home directory is displayed in a
panel on the left.
There are two sets of buttons in the File Explorer.
-
On the top left, just below the name of the current directory: Those buttons allow you to View, Edit, Rename, Download, Copy, Paste (after you have moved to a different directory) or Delete a file, or you can toggle the file selection with (Un)Select All.
-
At the top of the window, on the right side:
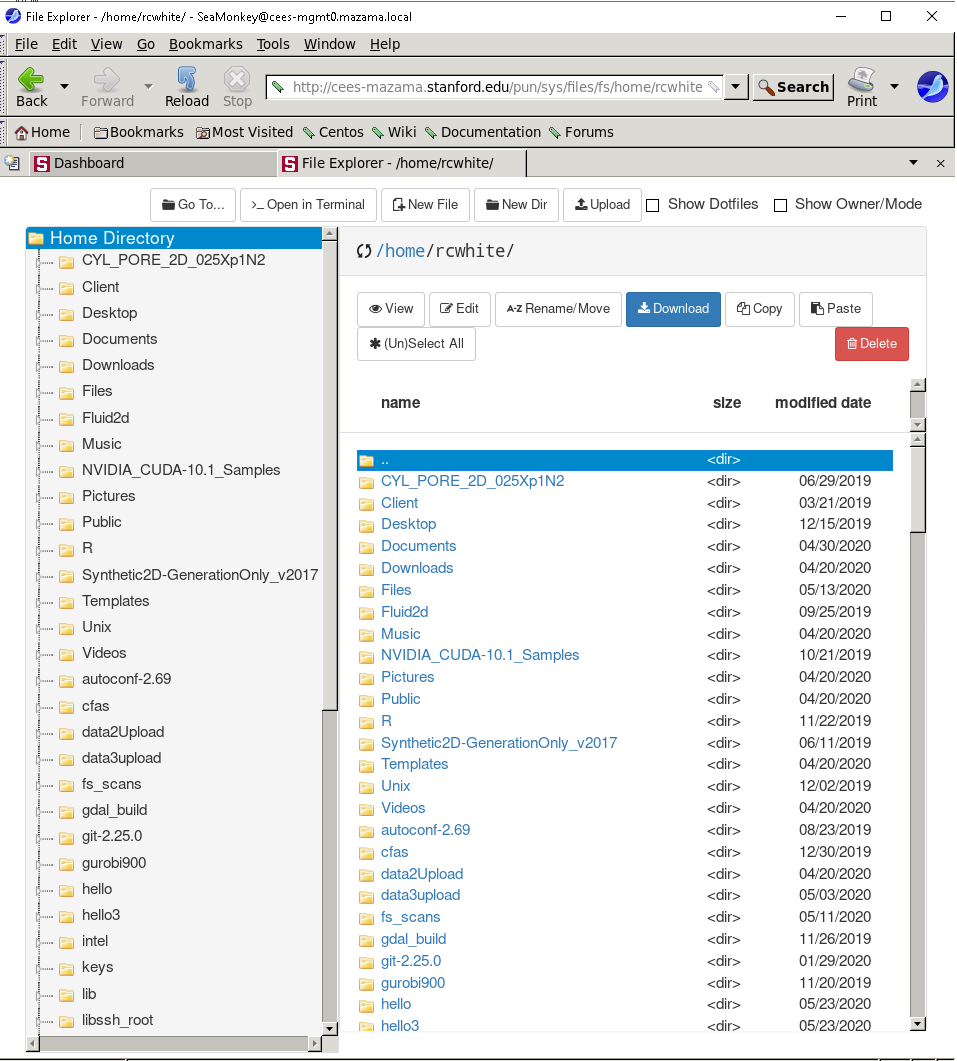
Button Function Go To Navigate to another directory or file system Open in Terminal Open a terminal window on Mazama in a new browser tab New File Create a new, empty file New Dir Create a new subdirectory Upload Copy a file from your local machine to Mazama Show Dotfiles Toggle the display of dotfiles (files starting by a ., which are usually hidden)Show Owner/Mode Toggle the display of owner and permisson settings
Creating and editing jobs
You can create new job scripts, edit existing scripts, and submit them to the scheduler throught the Mazama OnDemand interface.
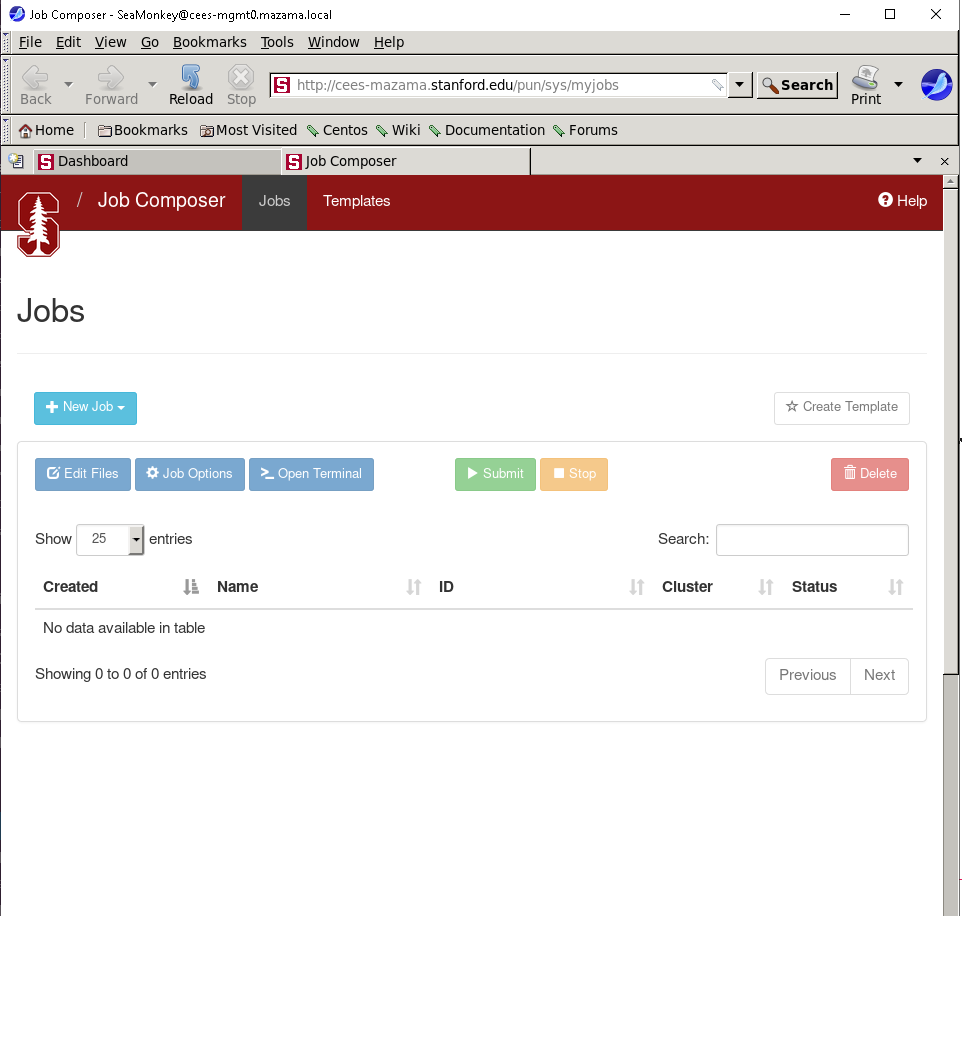
From the top menus in the Dashboard, choose Jobs > Job Composer. A Job Composer window will open. There are two tabs at the top: Jobs and Templates.
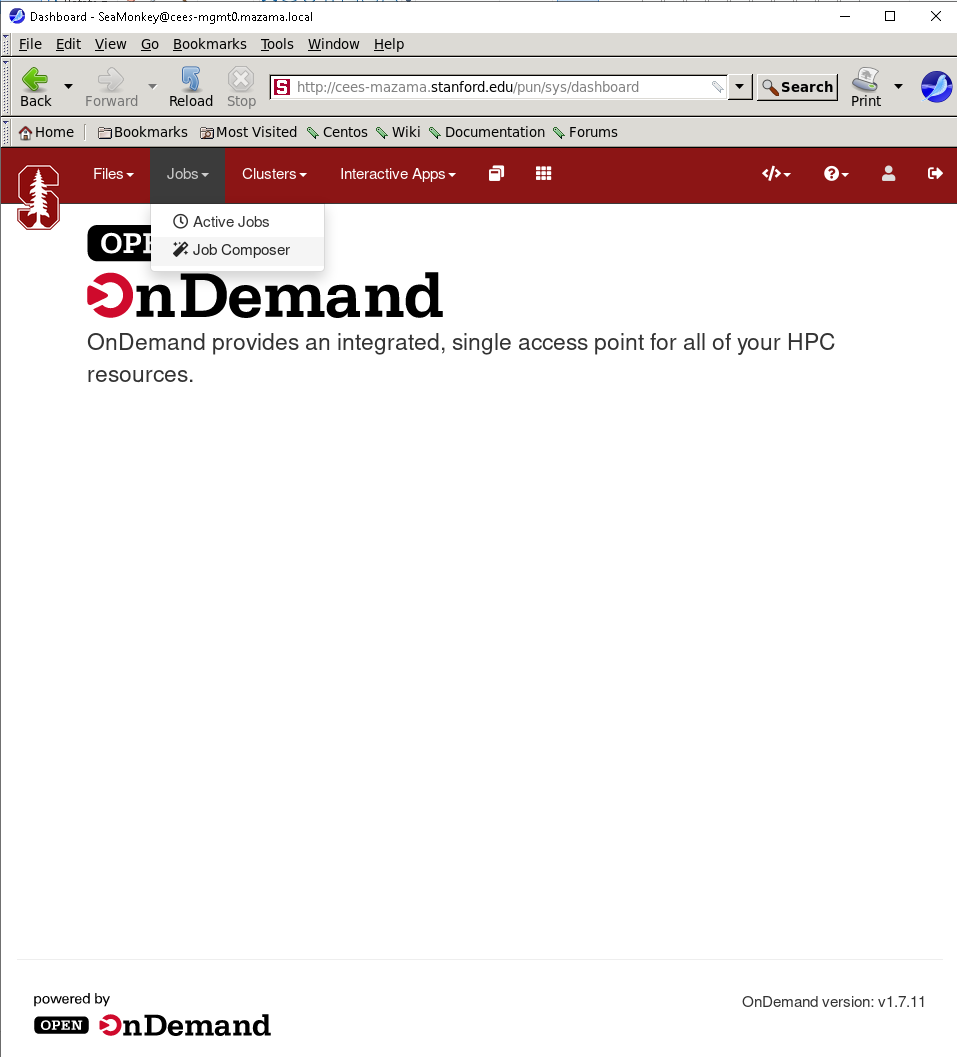
In the Jobs tab, you’ll find a list of the job you’ve submitted through OnDemand. The Templates tab will allow you to define your own job templates.
Creating a new job script
To create a new job script. you’ll need to follow the steps below.
Select a template
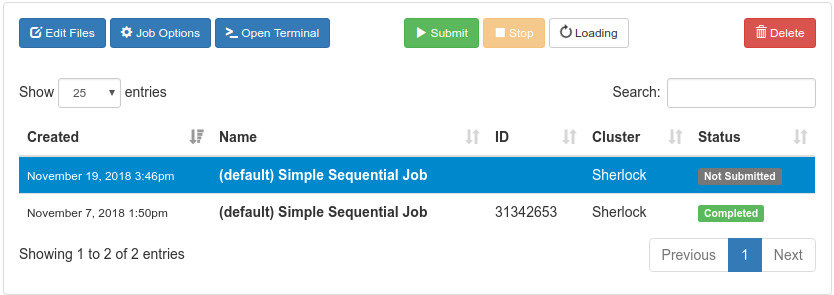
Go to the Jobs tab in the Jobs Composer interface. You’ll find a default template there: “Simple Sequential Job”.
To create a new job script, click the blue New Job > From Default Template button in the upper left. You’ll see a green message at the top of the page indicating: “Job was successfully created”.
At the right of the Jobs page, you can see the Job Details, including
the location of the script and the script name (by default, main_job.sh).
Under that, you will see the contents of the job script in a section named
Submit Script.
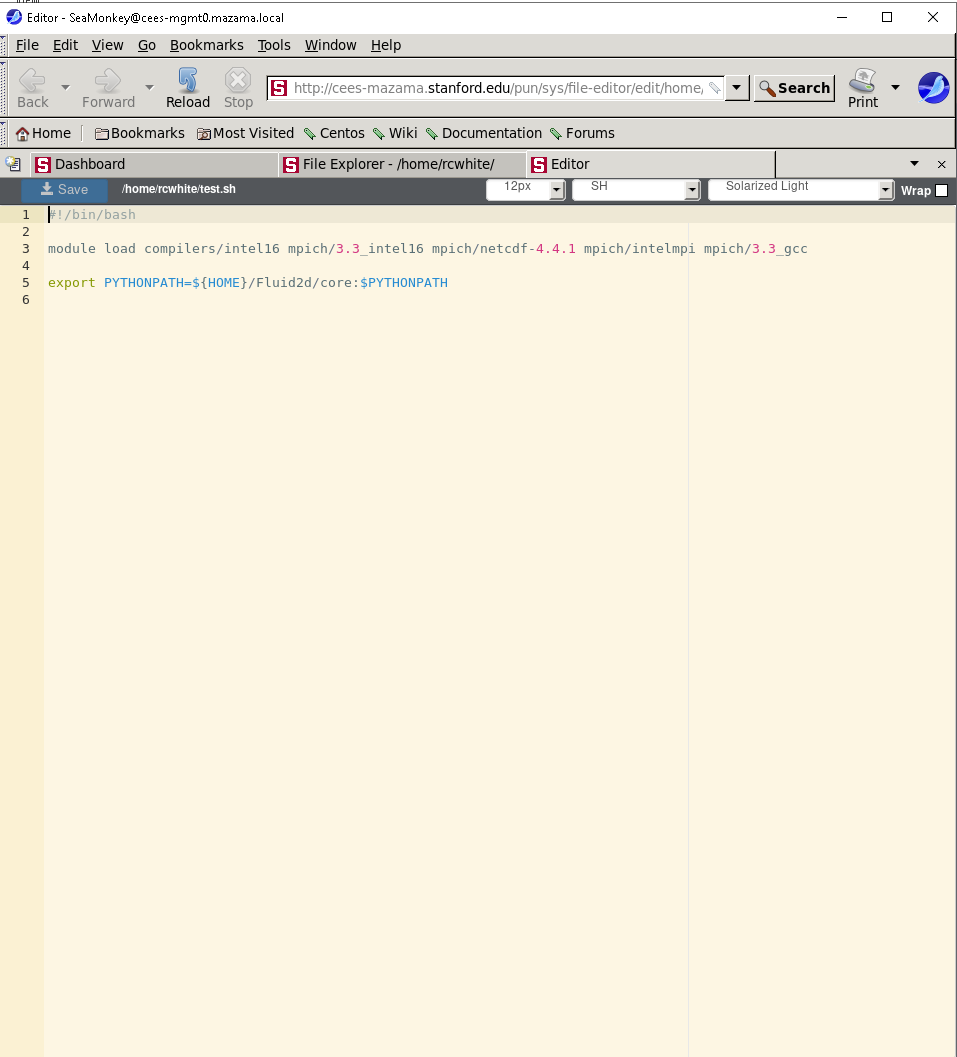
Edit the job script
You’ll need to edit the job script, so it contains the commands and workflow that you want to submit to the scheduler.
If you need more resources than the defaults, you must include options to change them in the job script.
You can edit the script in several ways:
- click the blue Edit Files button at the top of the Jobs tab in the Jobs Composer window,
- in the Jobs tab in the Jobs Composer window, find the Submit Script section at the bottom right. Click the blue Open Editor button.
After you save the file, the editor window remains open, but if you return to the Jobs Composer window, you will see that the content of your script has changed.
Edit the job options
In the Jobs tab in the Jobs Composer window, click the blue Job Options button. The options for the selected job such as name, the job script to run, and the account it run under are displayed and can be edited. Click Save or Cancel to return to the job listing.
Submitting jobs
To submit a job, select in in the Jobs tab in the Jobs Composer page. Click the green Submit button to submit the selected job. A message at the top of the window shows whether the job submission was successful or not. If it is not, you can edit the job script or options and resubmit. When the job is submitted successfully, the status of the job in the Jobs Composer window will change to Queued or Running. When the job completes, the status will change to Completed.
Monitoring jobs
From the Dashboard page, The Jobs > Active Jobs top-level menu will bring you to a live view of Mazama’s scheduler queue. You’ll be able to see all the jobs currently in queue, including running and pending jobs, as well as eome details about individual jobs.

At the bottom of the detailled view, you’ll find two button that will bring you to the directory where that job’s files are located, either in the File Manager or in a Shell session.
Interactive applications
One of the main features of Mazama OnDemand is the ability to run interactive applications difrectly from the web interface, without leaving your web browser.
VNC
To run a VNC session via Mazama OnDemand:
- Select Interactive Apps > Mazama Desktopr from the top menu in the
Dashboard page,
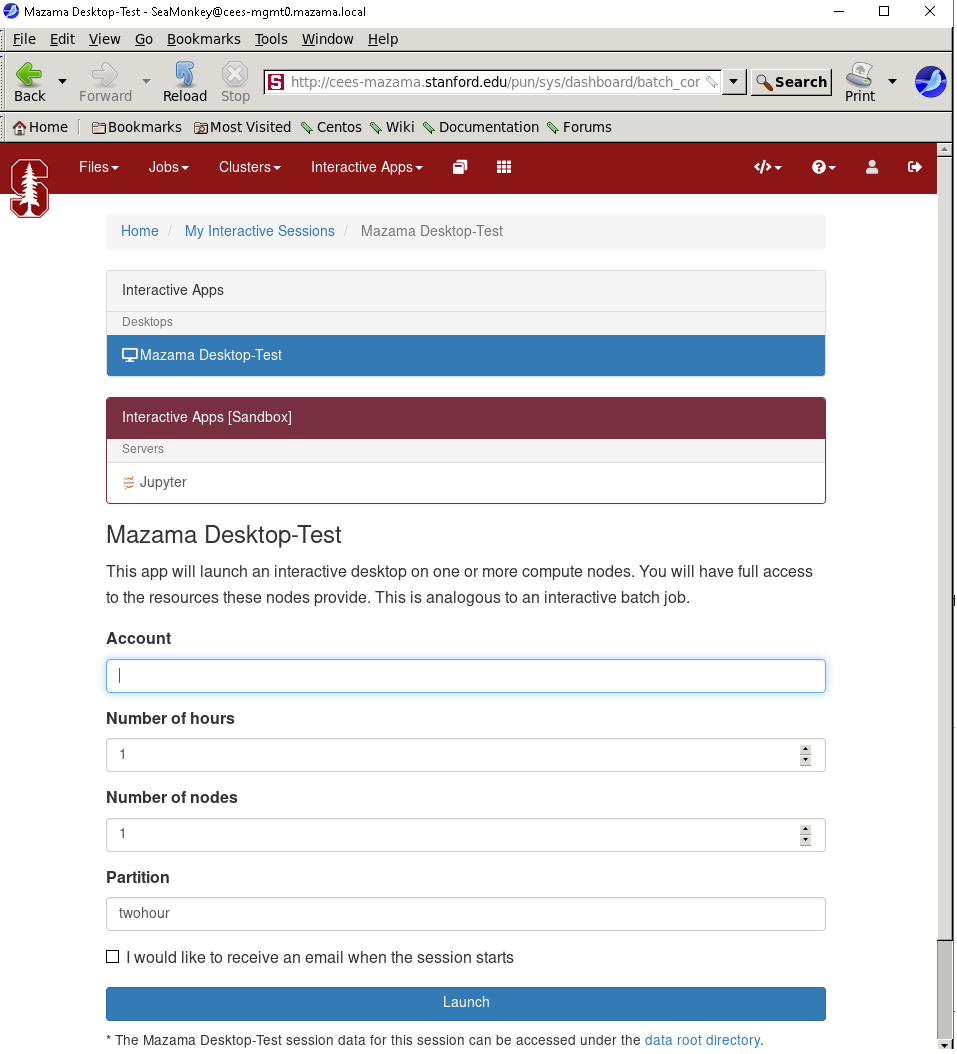
- In the screen that opens, specify the different parameters for your job
(time limit, number of nodes, CPUs, partition to use, etc.). You can also
choose to be notified by email when your notebook start.
- Click the blue Launch button to start your RStudio session. You may have to wait in the queue for resources to become available.
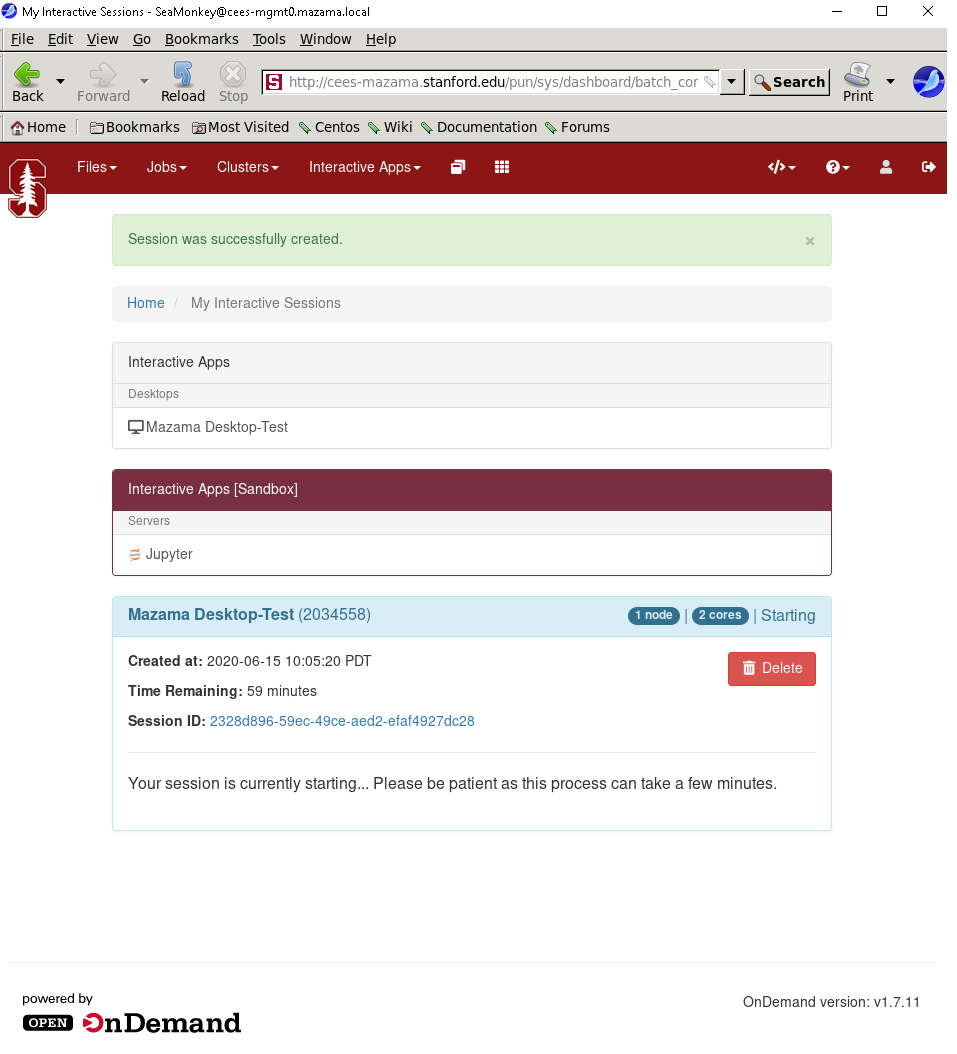
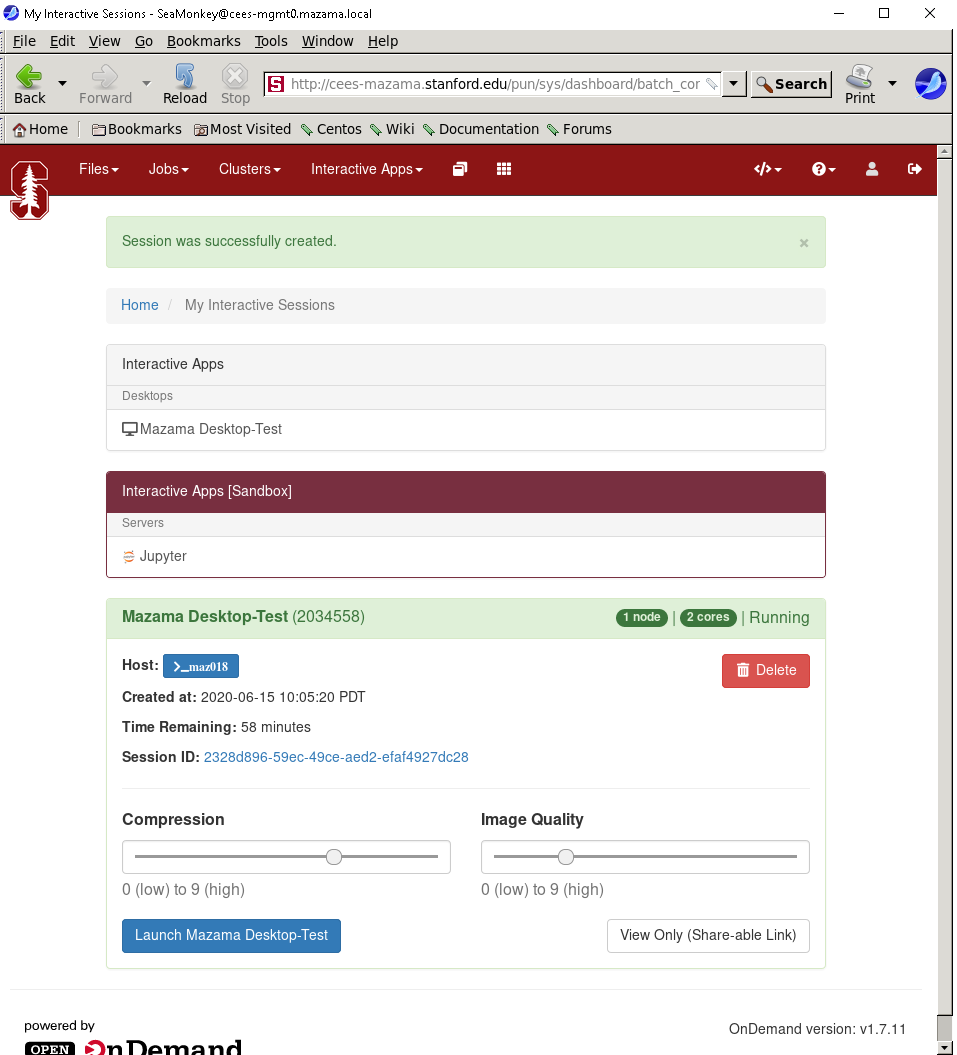
- When your session starts, click the blue Launch Mazama Desktop button. A new window shall open with a VNC Session running XFCE4.

JupterLab
!!COMING SOON!!
Rstudio Server
!!COMING SOON!!
Tensorboard
!!COMING SOON!!